
SHORT ANSWER
What buyers should know
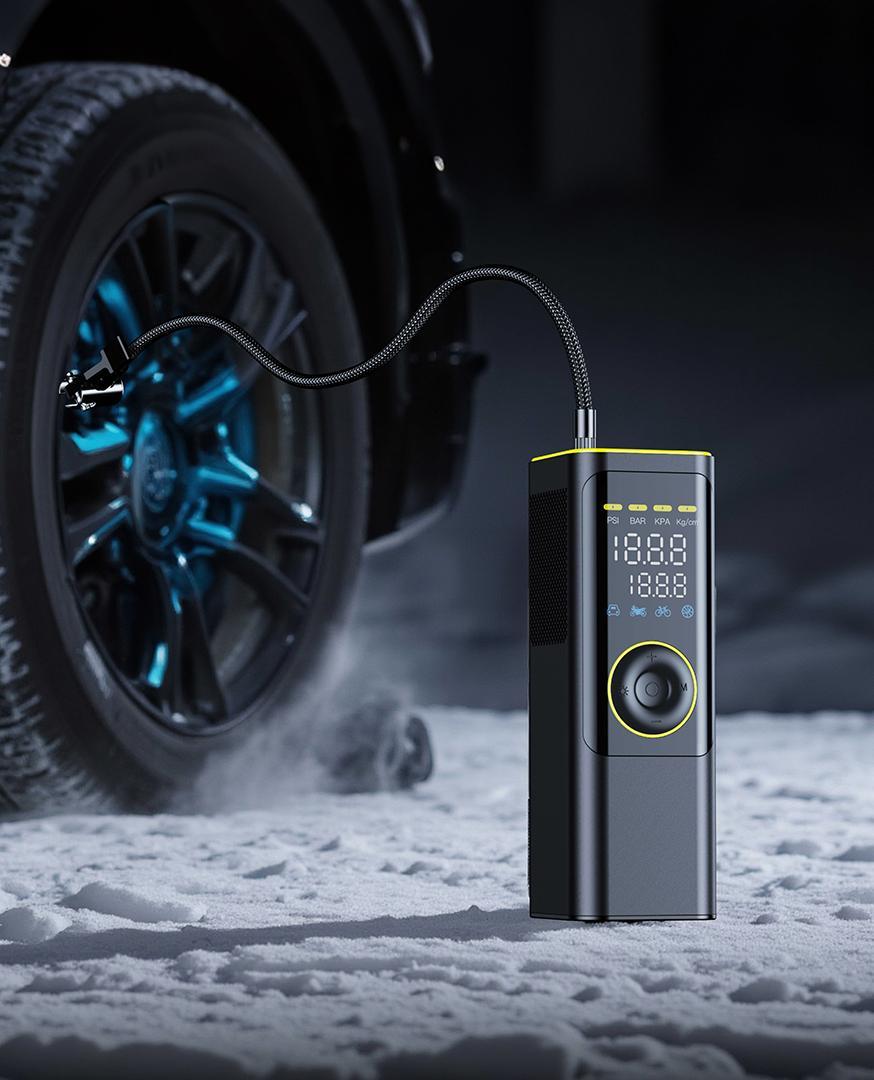
Choose a portable tire inflator by defining the target tires and emergency-use scenario, then validating inflation time, displayed-pressure accuracy, shutoff behavior, hose and connector temperature, duty cycle, battery or power input, controls, accessories and packaging. Test the exact production configuration under agreed starting pressure and ambient conditions. Do not compare suppliers using only a maximum-pressure claim.
Turn a broad product name into a precise use case
‘Portable tire inflator’ can describe a compact cordless tool for passenger-car top-ups, a 12 V corded emergency unit, a multipurpose compressor with lighting, or a product aimed at bicycles and sports equipment. A buyer must define the primary application before evaluating size, speed or price.
Describe the target vehicle class, tire size range, typical starting pressure, desired final pressure, frequency of use, storage location and destination climate. State whether the inflator is for emergency top-up, routine maintenance or repeated service. These choices determine the appropriate power architecture, hose, duty cycle, cooling and user interface.
1. Do not buy on maximum pressure alone
A maximum-pressure number is easy to display but rarely describes real user experience. Buyers usually care about how quickly and consistently a target tire moves from a defined starting pressure to the vehicle manufacturer’s recommended pressure. Inflation time depends on tire volume, pressure range, ambient temperature, battery state, power input and the thermal behavior of the compressor.
Ask suppliers for a test matrix that names the tire or vessel, start and stop pressures, ambient conditions, power source, battery state, sample quantity and cooldown rules. Compare products only when the method is equivalent. A short demonstration on a small object cannot support a passenger-car performance claim.
2. Validate pressure display and automatic stop
Gauge accuracy and repeatability are central to user trust. Test several pressure points against a suitable reference instrument and record both the displayed value and the value after stabilization. Include multiple units and repeated cycles. Define an acceptance tolerance appropriate to the product and market instead of relying on an unqualified ‘accurate’ claim.
If the inflator has preset and automatic-stop functions, verify button logic, unit switching, memory behavior and overshoot. Test unusual sequences, such as disconnecting early, restarting while warm and operating at lower battery charge. Instructions should tell users to follow their vehicle placard and owner’s manual. NHTSA advises using the vehicle manufacturer’s recommended cold inflation pressure, not the maximum pressure shown on the tire.
3. Review thermal performance and duty cycle
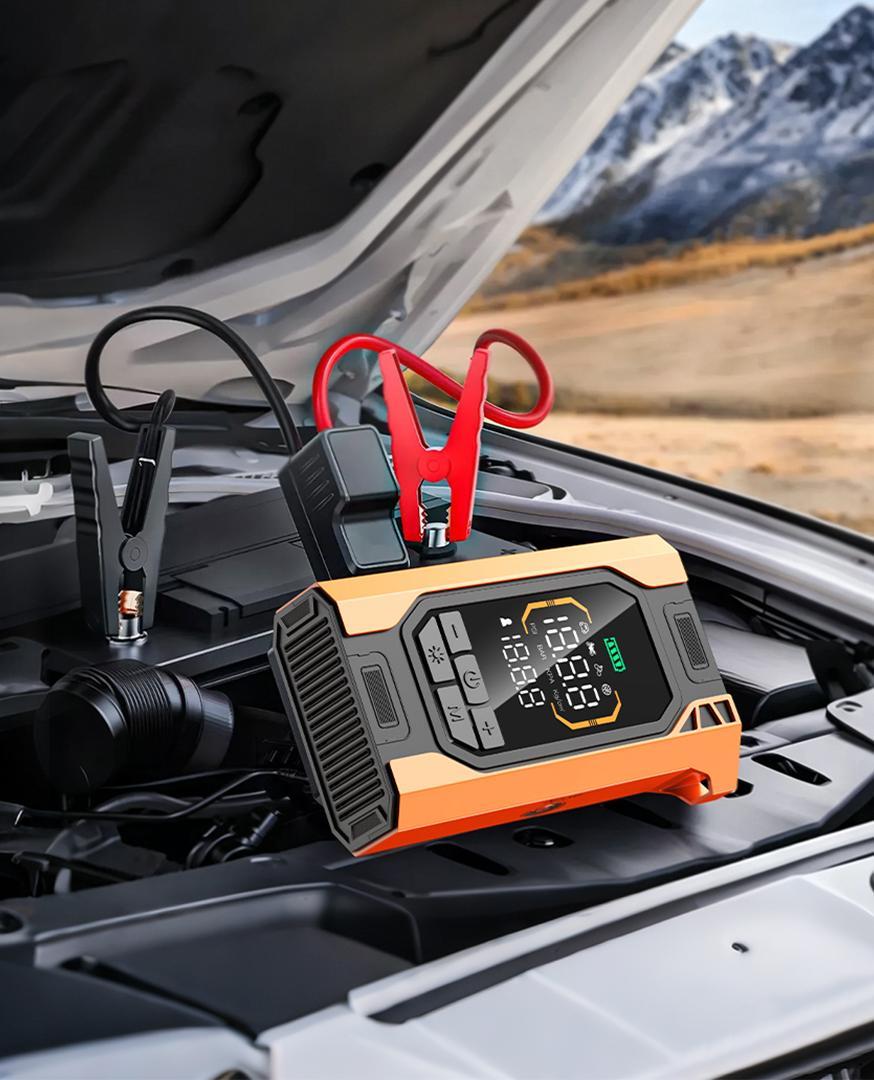
Compression creates heat in the pump, hose and connector. Compact housings can make thermal management more challenging. Ask where temperature is monitored, how protection operates and what rest period is required between cycles. Check whether users can safely handle and store the product after operation.
A credible endurance plan repeats inflation cycles using a written load and rest schedule. It should observe inflation time, shutdown behavior, noise changes, hose condition, connector retention and surface temperature. The intended duty cycle must be reflected in the manual and marketing. An emergency product should not be promoted as a continuous workshop compressor unless it was designed and validated for that use.
4. Choose cordless, 12 V or hybrid power deliberately
Cordless inflators offer convenient placement and can add USB charging or lighting, but battery capacity, protection, storage temperature and transport documentation require attention. A 12 V corded product can avoid battery aging but depends on cable length, vehicle outlet capability and correct user handling. Hybrid products add flexibility at the cost of complexity.
For cordless models, confirm the exact battery configuration and charging input. Review protection functions, charging time method and behavior at low charge. For international shipments, plan lithium-battery documentation and packing with the logistics provider. IATA guidance states that applicable lithium battery manufacturers and subsequent distributors must make a UN 38.3 test summary available.
5. Inspect hose, connector, cable and accessory design
A product can have an acceptable pump but a poor user experience because the hose is short, the connector leaks or the cable does not reach comfortably. Evaluate attachment time, sealing, release, storage and heat exposure. Check whether the valve connector can be operated with typical hand positions and whether instructions warn about hot areas.
Accessories such as ball needles and inflator adapters should be clearly identified and stored securely. Lighting should illuminate the working area without creating glare. If the product includes a power-bank function or emergency light, treat each as a function requiring its own verification rather than a free marketing add-on.
6. Create a user-focused control and display specification
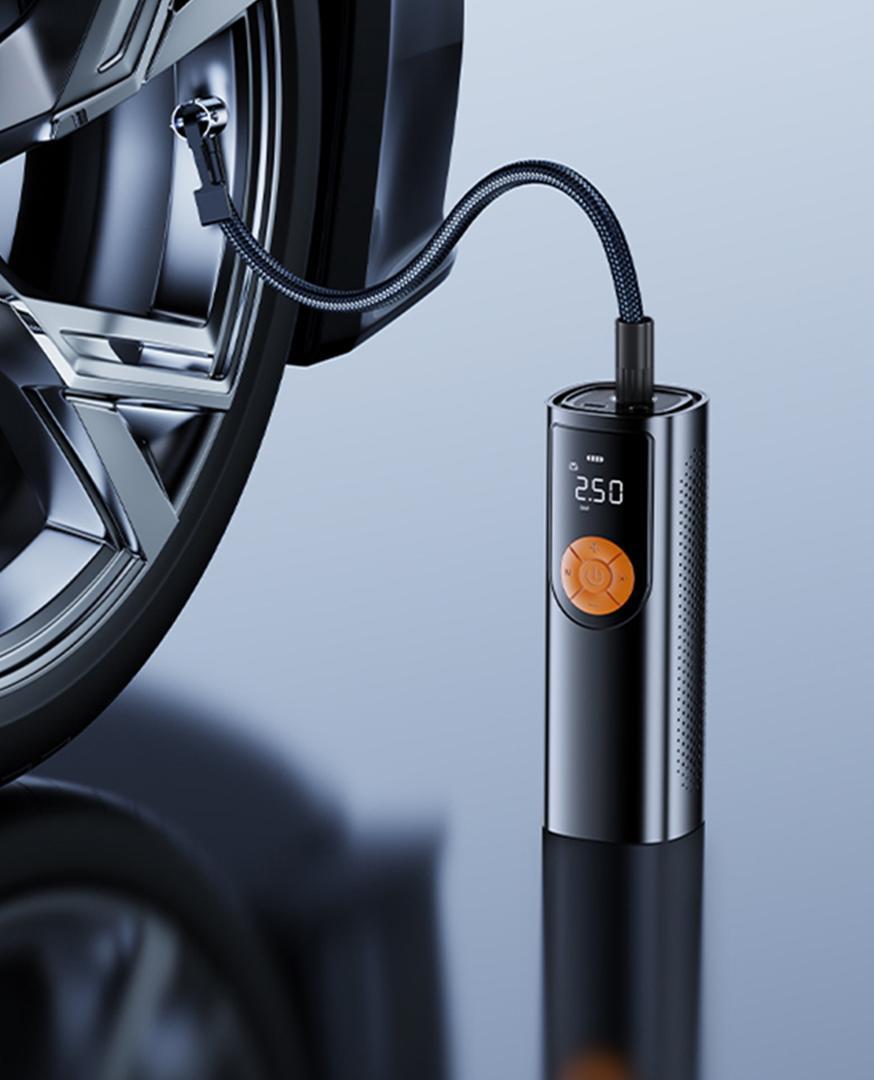
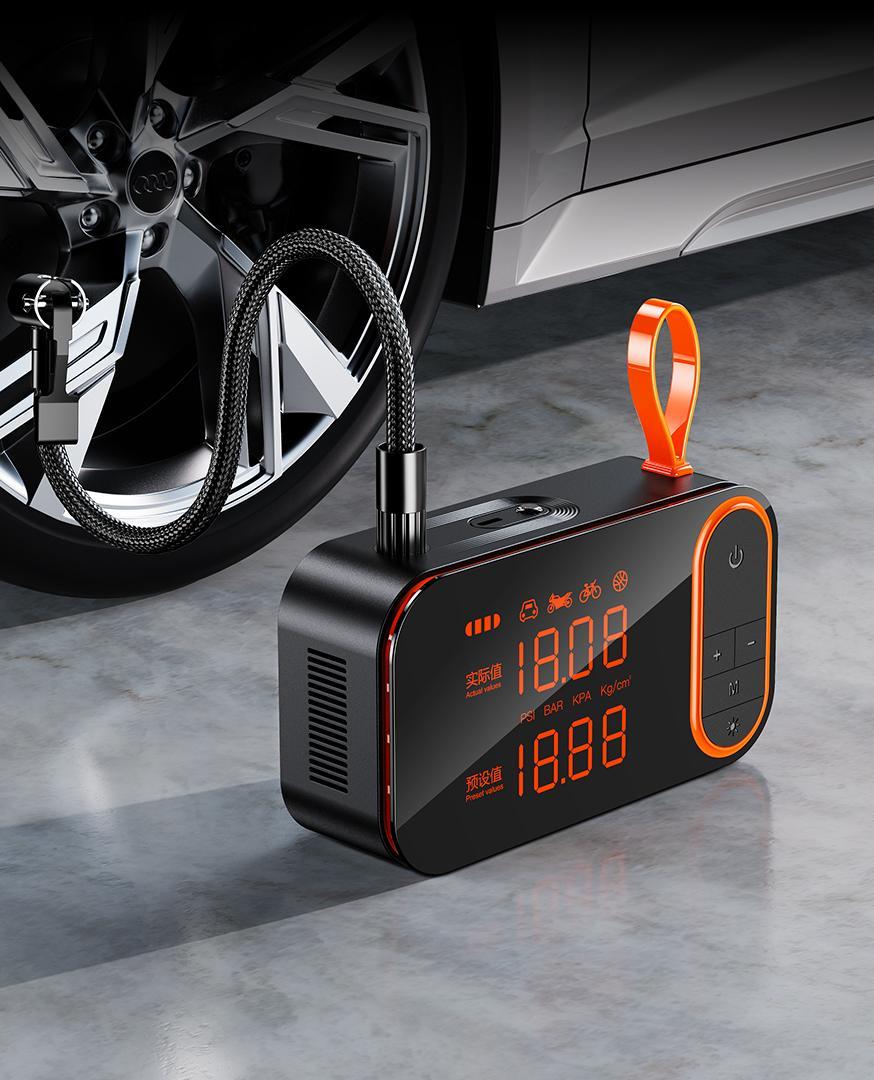
Define display readability in daylight and low light, pressure units, button labels, preset logic, error indications and shutdown behavior. Test with users who have not seen the product before. A buyer should be able to set a target, connect the hose and start inflation without guessing whether the displayed number is current pressure or preset pressure.
Localization includes more than translating the manual. Check abbreviations, warning labels, unit defaults and packaging diagrams for the destination market. Freeze approved interface text and artwork before mass production, and ensure software or firmware changes are controlled.
7. Build a factory validation and shipment-inspection plan
Factory validation should combine functional, endurance, safety-related and packaging checks. The exact plan depends on configuration, but buyers commonly need inflation-time trials, pressure comparison, automatic-stop behavior, temperature observation, repeated cycling, hose and connector retention, charging or power-input checks, controls, lighting and accessory verification.
Shipment inspection should confirm approved appearance, model and power configuration; operate sampled units; verify accessories, labels and manuals; and check retail and shipping cartons. Use the signed specification and approved sample. Record nonconformities precisely so corrective action can address the process rather than only replace visible defects.
8. Evaluate the OEM tire inflator manufacturer
Look for a supplier that connects product design, electronics, pump performance, assembly and quality records. Ask who owns the test method, how instruments are maintained, how failed units are analyzed and how changes are approved. Review evidence for the proposed model, not unrelated products.
For OEM work, document color, logo, packaging, interface language, accessories and required reports. Confirm MOQ and lead time only after the configuration is fixed; neither should be invented as a universal promise. If tooling or software changes are required, define milestones, sample stages and approval responsibilities.
Create a controlled inflation-performance matrix
A useful matrix includes more than one headline trial. Select representative tire volumes or controlled vessels, several starting pressures and the final pressures customers will actually use. Record ambient temperature, power source, battery state, sample identity, hose and adapter, run time, displayed pressure, reference pressure, automatic-stop result and recovery period.
Use the matrix to expose trade-offs. A compact unit may be convenient but require a longer cooldown. A larger pump may inflate faster but affect noise, weight and packaging. A cordless model may perform differently at full and partial charge. The buyer can then choose the balance that fits the target market instead of asking the factory to maximize every attribute simultaneously.
Retain raw observations, not only a pass/fail summary. Trends across units can reveal variation before it becomes a field issue. When a motor, pump, battery, hose or software setting changes, repeat the relevant matrix points and compare them with the approved baseline.
Review foreseeable failure modes
Ask engineering and quality teams to list practical failure modes: air leakage, connector release, inaccurate display, overshoot, thermal shutdown, damaged cable, weak battery, blocked ventilation, confusing controls or accessory loss. For each, define prevention, detection and user communication. The review should be tied to the selected design rather than copied from a generic form.
Inspect how the factory handles a failed unit. It should be identified, segregated and analyzed instead of simply retested until it passes. Corrective action may involve material, assembly, software, test equipment or work instructions. The buyer should understand which failures can be safely reworked and which require replacement or engineering review.
Packaging failure modes matter too. Simulate the intended distribution route using an agreed approach, then inspect for scratches, cracked displays, displaced accessories and stressed hoses. If e-commerce parcel delivery is expected, the packaging brief should reflect that channel instead of assuming pallet-only handling.
Prepare launch, support and repeat-order controls
Instructions should explain connection, preset selection, the correct source for vehicle pressure, operating limits, hot areas, cooldown and storage. Illustrations must match the shipped product. Customer-service teams need a troubleshooting flow that separates power, connection, pressure-setting and genuine product-fault questions.
For shipment release, verify the exact model, power configuration, hose, cable or charger, adapters, manual and labels. If batteries are included, confirm that transport documents and packing arrangements match the actual goods and route. Maintain lot information so field feedback can be connected to production records.
After launch, review inflation-time complaints, pressure differences, shutdown reports and accessory issues by batch and use scenario. Feed results back into specifications and tests. Repeat-order approval should include a written declaration of changes so a successful first order is not followed by an unreviewed substitution.
How to move from online research to a qualified RFQ
Online research should narrow the decision, not replace product definition. Convert the questions raised in this guide into a short requirements document. Label every item as mandatory, preferred or open to recommendation. Include the destination market, sales channel, customer application, forecast range, target launch window and the evidence required before approval. This gives a manufacturer enough context to recommend a platform without pretending that every detail is already fixed.
Invite the supplier to identify conflicts and trade-offs. For example, a request for smaller size, higher output, lower noise, longer runtime and lower price may not be achievable at the same time. A technically useful response explains which component or design choice affects each outcome. Record the agreed priority order so later sample changes are judged against the same commercial goal.
When quotations arrive, normalize inclusions and exclusions. Confirm configuration, accessories, branding, packaging, inspection, reports, trade terms and payment milestones. Ask which values are measured, which are typical and which remain subject to sample validation. A clear RFQ process reduces the temptation to choose a supplier using a unit price that describes a different product.
How to verify a pilot build and shipment
Before pilot production, hold a documented readiness review. Confirm that the bill of materials, appearance standard, artwork, software or controls, work instructions, test criteria and packaging files all point to the approved revision. Identify any temporary pilot material and prevent it from being mistaken for the production configuration. Define the sample quantity and the evidence that will be returned to the buyer.
During the build, inspect the process as well as finished units. Observe component handling, fastening, wiring or sealing where applicable, functional checkpoints and segregation of failures. Review whether test instruments are suitable and within their control period. If defects appear, record the actual failure mode, suspected cause, containment and retest method. A pilot is valuable because it reveals process risk before the full quantity is exposed.
For shipment release, use an agreed inspection plan based on the signed specification, golden sample and packaging files. Verify sampled function, appearance, accessories, labels, manuals, retail packaging and shipping marks. Record lot identity and retain evidence. Inspection does not prove every unit is perfect, but when combined with process control it provides a defensible decision and a traceable baseline for any later claim.
Portable tire inflator RFQ checklist
A complete RFQ helps the factory return a relevant recommendation and exposes unclear assumptions early. It also creates the foundation for pilot production, shipment inspection and later repeat orders.
Certification availability depends on the selected model, configuration and destination market. Please contact us for the applicable certificate or test report.
- Target vehicle and tire-size range
- Starting and target pressure test points
- Power source and battery configuration
- Inflation-time and duty-cycle method
- Pressure-display and automatic-stop acceptance
- Hose, connector, cable and accessory requirements
- Display, units, labels and manual language
- Packaging, inspection and destination-market documents
FAQ
Frequently asked buyer questions
What is the most important tire inflator specification?
There is no single number. For most buyers, the critical set is application fit, inflation time under a defined method, pressure-display accuracy, automatic-stop behavior, duty cycle and thermal control.
Should users inflate to the pressure printed on the tire?
NHTSA advises using the vehicle manufacturer’s recommended cold inflation pressure shown on the vehicle placard or in the owner’s manual, not the maximum pressure shown on the tire.
How should inflation speed be compared?
Use the same tire or vessel, starting pressure, target pressure, ambient conditions, power source, battery state, sample quantity and cooldown rule. Without a common method, times are not directly comparable.
Is a cordless or 12 V inflator better?
Cordless models offer positioning convenience; 12 V models avoid onboard battery aging and can suit emergency storage. The better choice depends on user scenario, desired runtime, storage, logistics and cost.
What documents should be requested?
Request documents that apply to the exact model, battery, charger or cable and destination market. For applicable lithium batteries, discuss the UN 38.3 test summary and transport requirements. Do not assume one certificate covers every configuration.
Sources and further reading
External sources support regulatory or safety-related context. Product selection remains model-, configuration- and market-specific.